I’m experimenting with wearable computing as a way to get back into programming. It’s fun because it involves more than just pixels on a screen; you get to mess with real-world stuff like LEDs and circuits and sensors and whatnot. And it’s low-risk because it’s hard to shock yourself badly or make stuff blow up when you’re working with 3 to 5 volts.
Eventually I’m planning to make a turn-signal jacket for biking, much like this one, but I wanted to get a sense of how to work with the various necessary bits — sewable processors, LEDs, conductive thread and so on — before adding programming to the mix. I thought I’d start by just adding some uncomplicated LEDs to the back of some gloves so that when I stick out my arms to signal a turn there’s a little bit of extra light there to make it yet more obvious what I am doing.
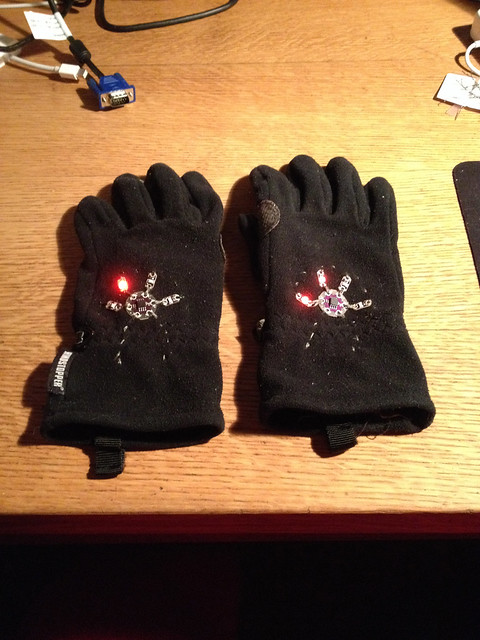
I was going to just sew some LEDs to my gloves, using the conductive thread as a resistor and connecting them directly to a battery holder for power (so the LEDs would be on whenever the battery was in). This is a good enough plan, but then I found tiny boards pre-programmed to light up 4 LEDs in random blink/fade patterns and I liked the idea of that better. So I bought two Lilypad twinkle boards and a bunch of sewable LEDs (normal LEDs are also sewable of course, but not so much washable which for gloves is definitely a factor) and some stainless-steel thread. I wanted LEDs in a colour other than red or white (which have legal meanings for bike lights) but only red and white were available. I used red, then, so they look like taillights and not headlights, which I thought might be confusing for people behind me.
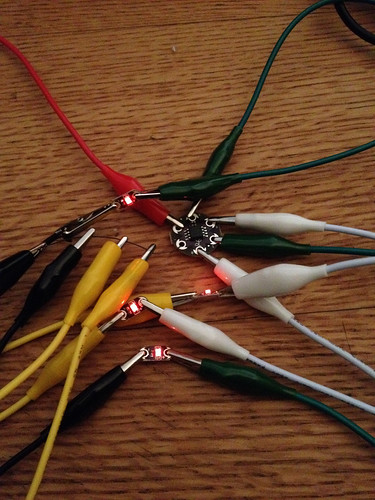
Here’s a picture of the circuit concept. There are 4 LEDs, each with their positive end connected to a petal on the board (the white and green clips) and their negative end connected to a wire connected to the negative port on the board (the yellow and black clips). The wire then connects to the negative end of a battery. The red clip connects the positive port on the board to the positive end of a battery (not shown). When the circuit is closed, the LEDs blink and fade in random patterns.
Since the proof-of-concept worked I started sewing, connecting the LEDs each to one of the four ports on the board by sewing a very short seam with stainless-steel thread. It’s terrible stuff to work with; very high friction, very sharp, very prone to tossing off tiny thread fragments that short out your circuits, very hard to seam-rip. After my first experiments with it I started to wrap several of my fingers in first-aid tape to protect them. You can use stainless-steel thread in a sewing machine as a bobbin thread, which is probably a less personally damaging idea but not one that would really have worked with gloves. I tested each seam after I finished it to be sure it worked.
After all four LEDs were attached to the glove and the board, I ran a long seam from the negative port on the board to each of the negative ends of the LEDs, testing each one as I went.

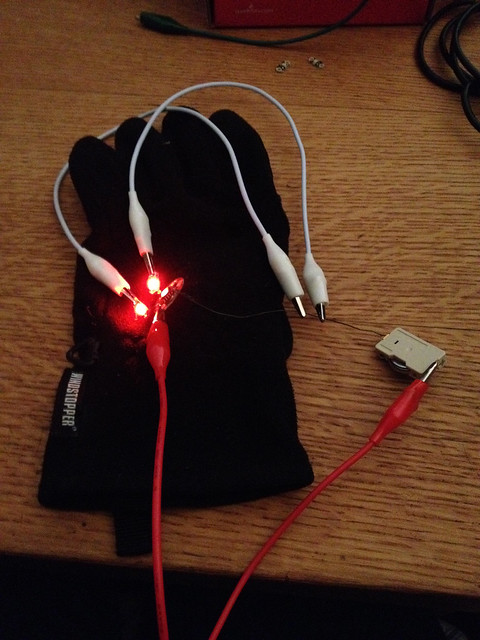
Once that was all working it was time to attach the battery and sew the seam from the positive and negative ports to the battery case. I put the batteries on the inside of the gloves to shield them from the weather somewhat.
They work! The patterns are mildly mesmerizing so I don’t look at them while I’m riding.
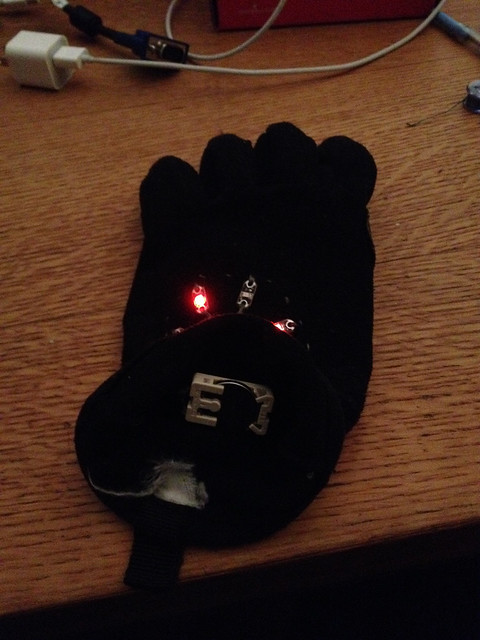
Once I was satisfied that they were working I covered the exposed stitches with black fabric paint to help protect the thread and keep it from throwing off the aforementioned circuit-shorting fragments.
It’s a good and successful first experiment but there are a couple of obvious improvements I could make:
– Move the batteries farther away from my wrist. I put them close to the wrist elastic on the gloves to keep them protected and to keep them from getting joggled around too much but I think it would be easier to pull the gloves on and off if they were closer to the far edge of the glove.
– Add a switch so I don’t have to pop the battery in and out all the time. This is just a matter of sourcing a suitable switch; they do exist, but not easily through Canadian suppliers. The joys of Canada Customs await.
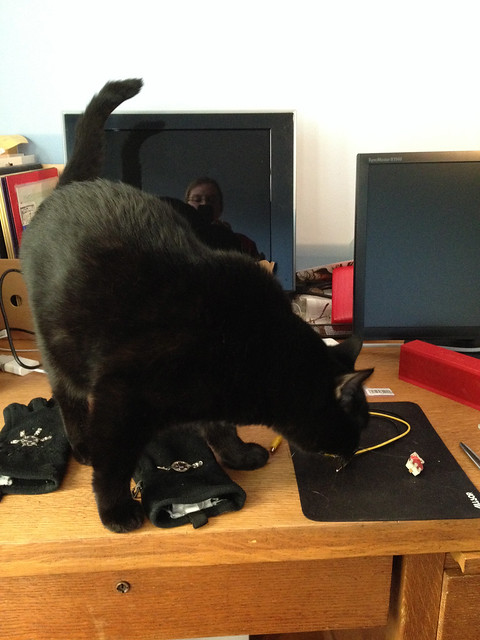
Fortunately I have helpful cats.